


5 Steps to DIY Wood Shelves
- Lauren
- Nov 6, 2018
- 3 min read


Materials you Need to Make Wood Shelves:
Materials Price We Paid
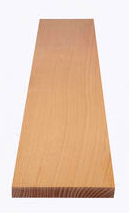
(2) 4'x1'x2" Slab of Oak Wood $14
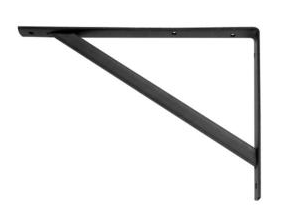
(4) Brackets $20
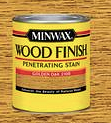
(1 can) Semi-Transparent Wood Stain (We Used Golden Oak) $5
(1) All-Purpose or Stain Paint Brush $3
(1) Plastic disposable cup (Optional) $1
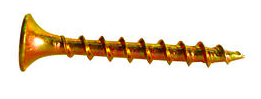
20 General Construction Screws ( We Used #6 1-1/4") $3
Power Drill We Had One ($25)
Drill Bit Set (We used a 1/8 Drill Bit from a set) $5
Stud Finder $5
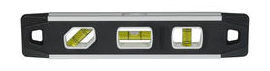
A Level $5
Measuring Tape We Had One ($2)
Sand Paper/Sanding Sponge $3
Total = $65 ($87)
What We Used: (Images are linked)


How We Made and Installed the Shelves: (Written by Drew)
Sand the wood boards on all sides and corners. Make sure they are smooth with no splinters.
Now stain the boards. Pour the stain in a cup, and make sure the the boards are clean and wipe off of any dust from them. Apply the stain to the boards lightly and evenly, going with the grain of the wood. Let the first side dry a bit before flipping them to stain the other side and be sure to stain the edges evenly as well.
Install the brackets to the wall as the boards are drying. So first, get an idea of where you want the shelves to go and how close/far you want them to be from each other. Once you have a picture in mind, find the nearest stud behind the wall with the stud finder and mark where they are with a pencil. (The studs behind the wall are usually about 14 to 16 inches apart.) This may not be exactly where you want the brackets to go, but you need to put brackets on the studs or you risk the shelves being too heavy and tearing out the wall. Put the first bracket on the wall (the longer arm of the bracket is best to go against the wall for maximum support for the shelves with the shorter arm of the bracket against the boards) by putting a screw in one of the holes of the bracket and be sure to use the level to make sure it is going straight up. Now do the other bracket the same way, but use the level and make sure the brackets are equal in height and going straight up.
Now you'll drill the shelves onto the brackets that are attached to the wall. With the brackets up on the wall, aligned and leveled, and the boards finished drying (they shouldn't be sticky), you can drill the shelves on to the tops of the brackets. Place the shelves on the brackets and make them equally distant on each side of the two brackets with your tape measure. When the shelves look how you want them, us a pencil to mark where the screw holes are on the wood. Now take the shelves off, use a 1/8 drill bit to put holes half way into the wood shelves on your pencil marks (make sure you do not drill all the way through the shelf. Now place the shelves back on the brackets and screw them in.
Step back and enjoy, you've got some good look'n shelves on your wall!
We hope this is helpful for you and makes it easier to DIY custom shelving! Thanks so much for reading and there will be another post coming up sharing how to decorate your shelves!
- Lauren and Drew
Consider Your Handiwork of Building Shelves and God's in Creating You!
"For we are God's masterpiece. He has created us anew in Christ Jesus, so we can do the good things he planned for us long ago." -Ephesians 2:10
Jesus came to earth to live the perfect, sinless life that we could not, to die on a cross in order to justify our brokenness and give us the option to know God and have eternal life if we believe in Jesus and repent. We are God's handiwork and we are created to know him and do his work here on Earth that he had planned for us to do! You are his masterpiece and the Lord wants and has made a way to have a relationship with YOU.

Comments